How to deploy Gryzzly in your team on MS Teams?

How can I deploy Gryzzly on MS Teams?
Here are the steps to follow in deploying Gryzzly on MS Teams.
Step 1: Giving Gryzzly the administrator’s authorisation
👉 Who? Your MS Teams space admin👈
2 options:
Option 1: Installing third-party apps from the Teams store is allowed
Everything takes place directly in your Teams space:
1. Go to the Applications menu,
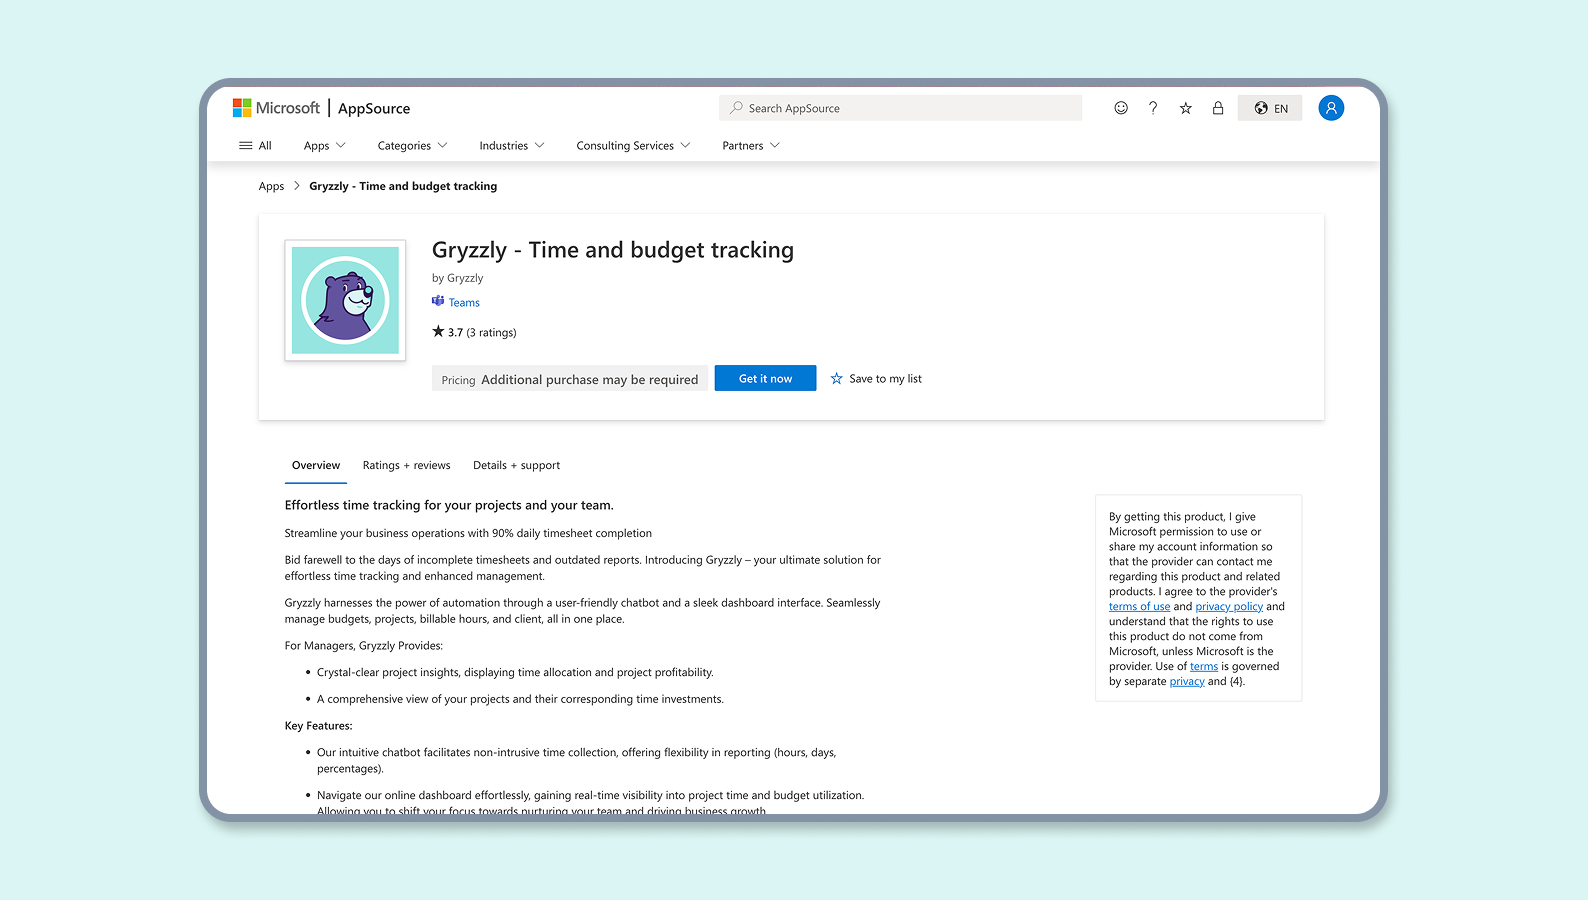
2. Search for Gryzzly,
3. Click on “Add”,

4. Once Gryzzly is installed, you will receive a direct message from the bot inviting you to Allow Gryzzly to access Teams

5. You may then ask the person responsible for deploying Gryzzly to take over from here on.
Option 2: You have blocked the installation of third-party applications in the Teams store
To be able to install Gryzzly, it’s necessary that you authorize Gryzzly in your Teams management help center:
1. Go to: https://admin.teams.microsoft.com/policies/manage-app,
2. Search for Gryzzly in the app list,

3. On the app form, toggle Authorize,
4. Check the permissions section to grant Gryzzly the necessary permissions,

5. You may then ask the person responsible for deploying Gryzzly to take over from
Step 2: Quick setup for your Gryzzly space
👉 Who? Your organization’s Gryzzly deployment manager 👈
As the Gryzzly deployment manager, you must install it in your Teams space once it has been authorized by your admin.
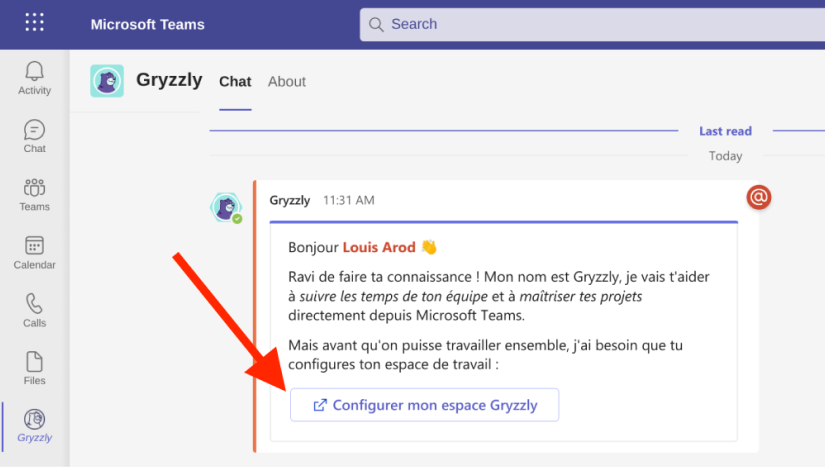
When the chatbot invites you to configure the application: click on the “Set up my Gryzzly space” button and grant your approval, if requested.
In your Teams space:
1. Go to the “Application” overview,
2. Search Gryzzly,
3. Click on “Add”,

4. Once Gryzzly has been installed, you will receive a direct message from it inviting you to Set up your Gryzzly space,

5. Click on this button to access and set up your Gryzzly space.
You can then personalize your Gryzzly space and invite your contributors! 😊