Create your projects

How do I create a project?
To create a project, go to the Projects panel.
Onboarding
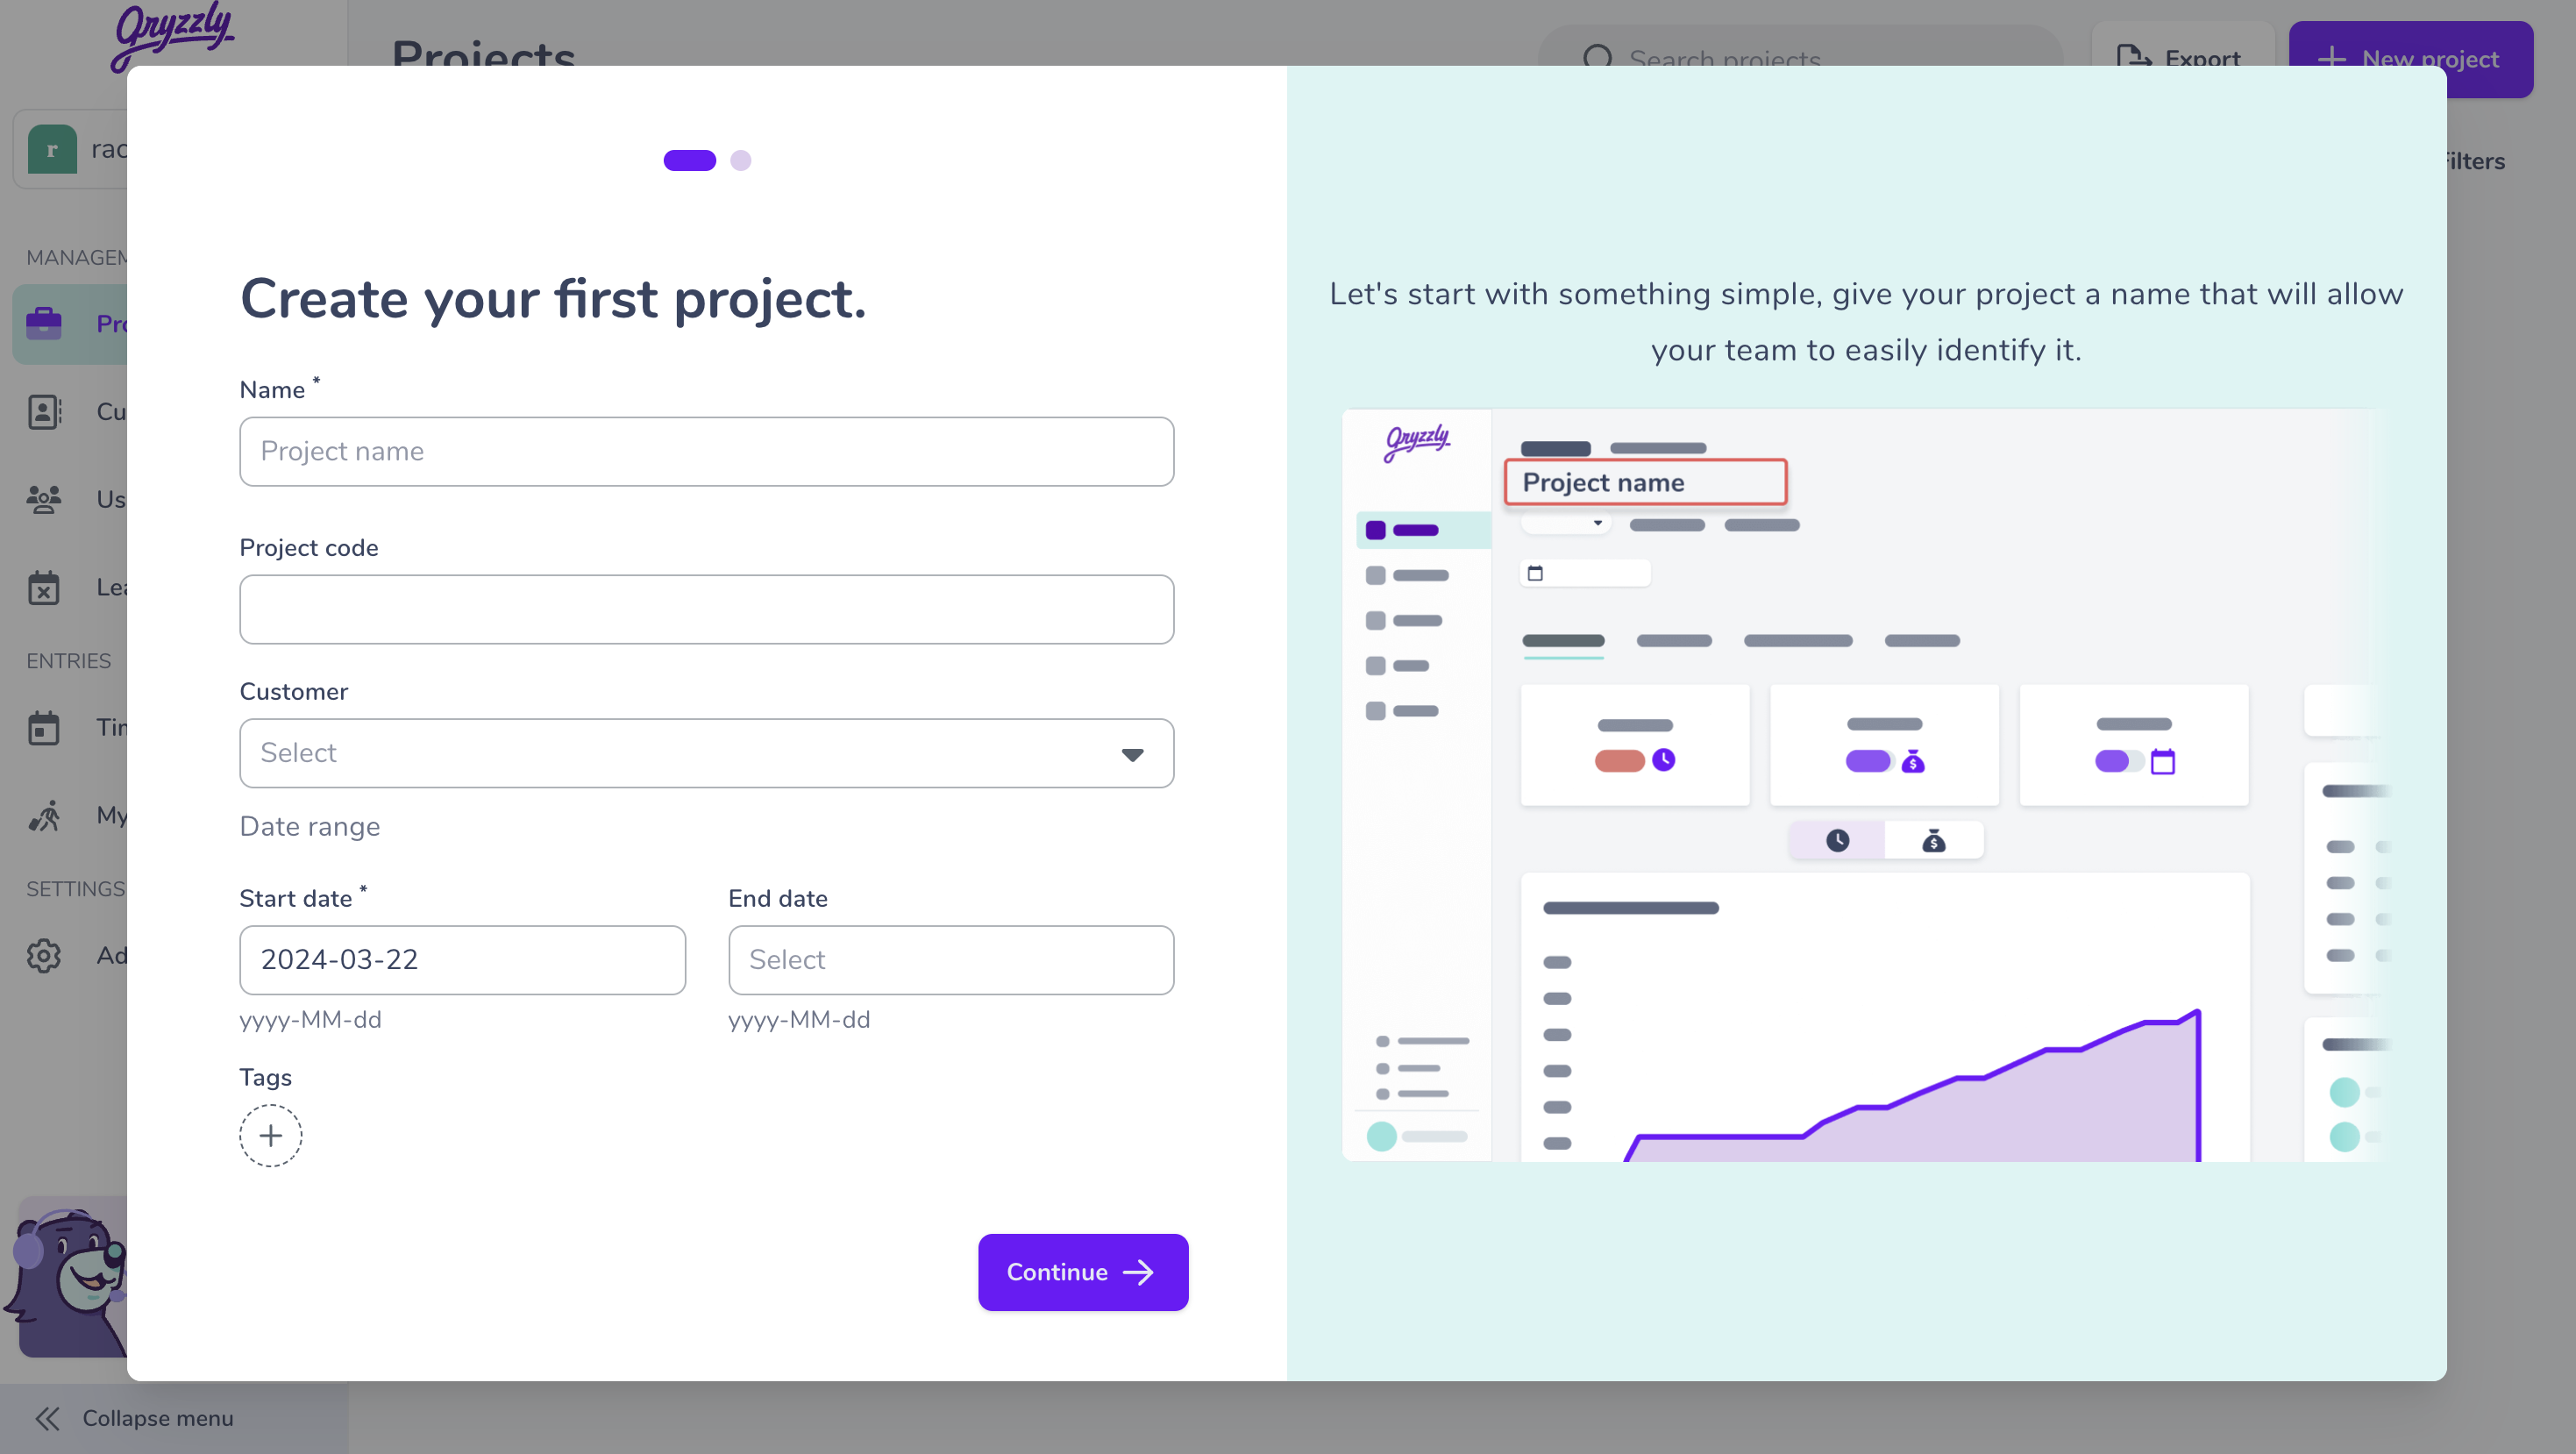
If you’re visiting the dashboard for the first time, Gryzzly will explain the structure of a project in a few words.

You can create your first project directly from onboarding by clicking on “create a project”.
New projects
To create your projects, you only need to click on the ➕ New project button.
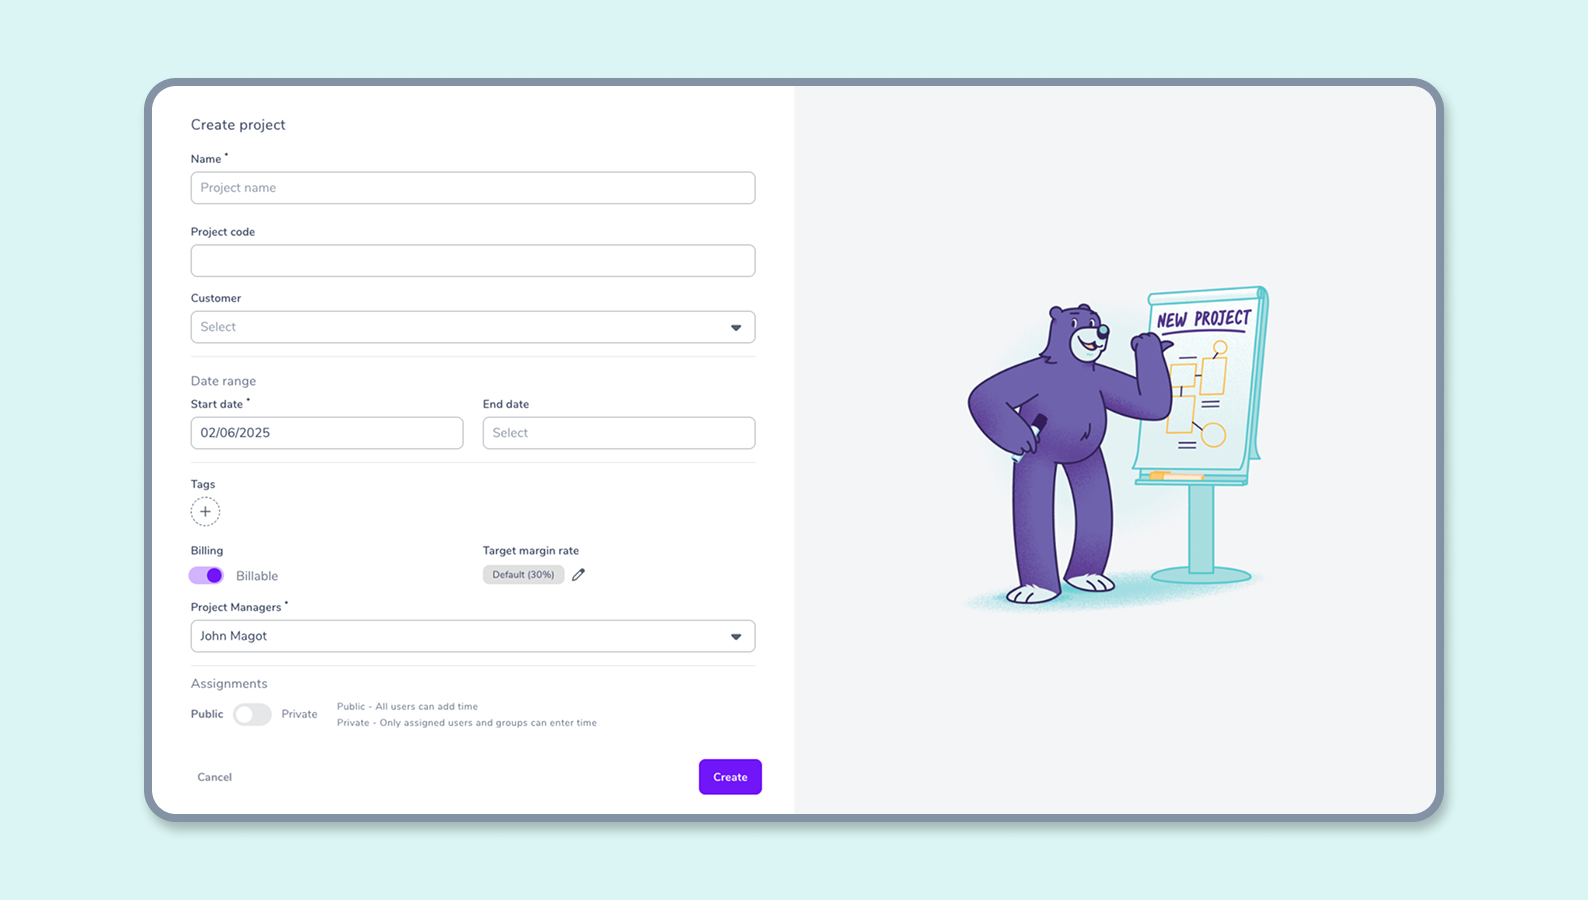
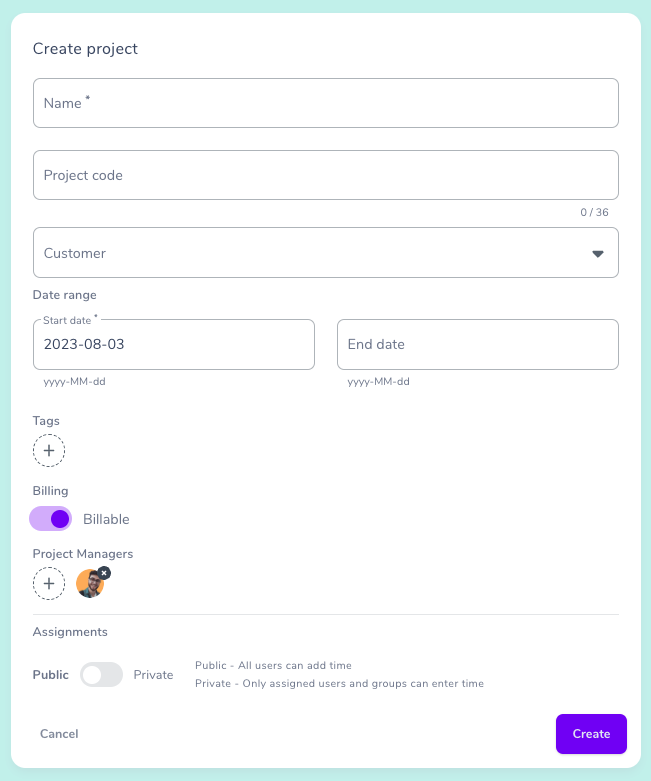
Project setup takes place on a dedicated interface.
Define information
👆 A project’s information is made up of all the elements that define it.
You must define:
- The name of your project (mandatory),
- A project code (optional),
- A client (optional),
- A start date and an end date (optional),
- The tags (optional),
- If the project is billable or not (mandatory),
- The assignments (mandatory).

The name
It is essential for identifying the project in the list of projects. You can search for it in the search bar or sort your projects by name.
The project code
Project codes enable you to identify your projects more easily, especially when exporting.
The customer
Add a client to a project so that you may then analyze your clients based on different projects linked to them.
Start and end dates
They help define and visualize the deadline of the project.
Tags
Tags enable you to find and analyze your projects by grouping or filtering them.
Billable or non-billable
You can choose whether your project is billable or not.
Assigning collaborators or teams
Assigning collaborators and/or teams enables you to determine who is involved in a project and what their responsibilities are.
Once you have filled in all this information, your project is ready.
However, it is still empty. To configure it, add:
- Tasks (mandatory)
- Task groups (optional)
- expenses (optional)
- Discounts (optional)
⚠️ You can only input time on tasks, so create at least one task to enter your project time. ⚠️