How to import projects in Gryzzly
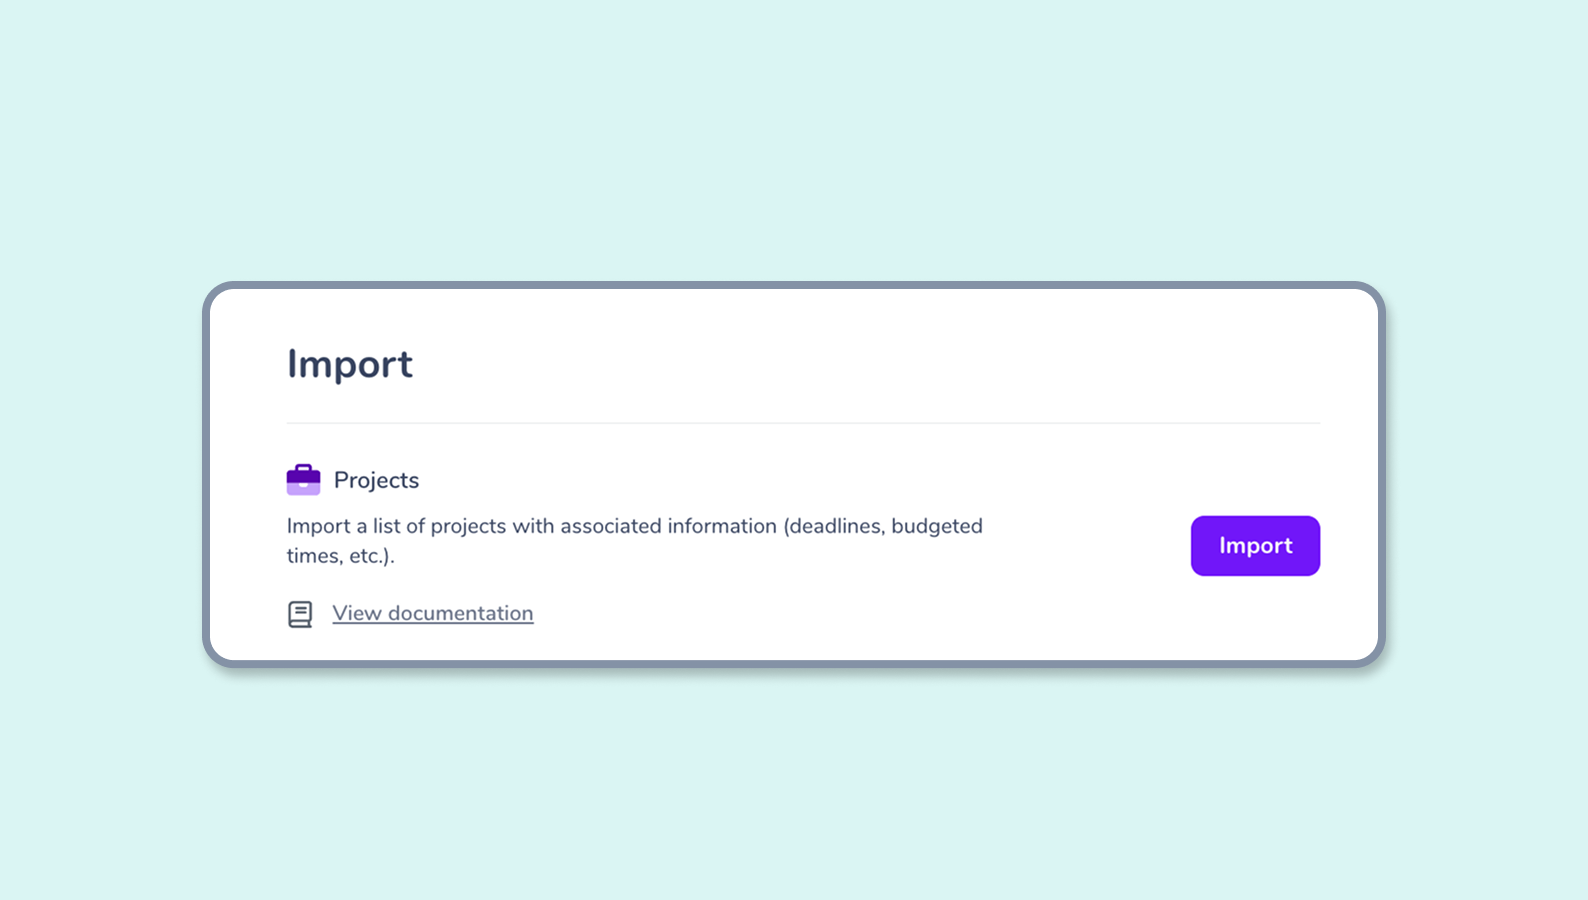
To import projects, go to Administration > Imports and select the Projects section. You can import your data using CSV or XLSX format files.
👉 Important: The accepted column delimiter is comma (,) and the character encoding must be UTF-8. For decimal numbers, use a period (.) as the decimal separator.
Prerequisites
Before creating your import file, we recommend:
- Define your project structure - Plan how you want to organize your projects, tasks, and resources
- Set up tags in advance - If projects need tags, create them first in Administration > Tags
- Understand billing types - Familiarize yourself with the different task budget types (None, Detailed, Global, Time)
How to structure your import file
We provide a template Excel file that you can download and use as a starting point. The template includes all required columns and examples of proper formatting.
Project hierarchy and ordering
Your import file must follow a specific hierarchy for successful project creation. Each line represents a resource that must be ordered correctly:
- [project] - Your main project
- [purchase] - An expense attached to the project
- [discount] - A discount attached to the project
- [task] - A task or task group within the project
- [purchase] - An expense attached to the task group
- [discount] - A discount attached to the task group
- [subtask] - A subtask within the task group
Important rules:
- Project reference: Every resource must include the project name in the
Project Namecolumn - Optional items: Purchases and discounts are optional
- Order matters: Resources must appear in the correct hierarchical order
- Parent-child relationships: Subtasks must follow their parent tasks
- Linking: Purchases/discounts must appear after the project/task they belong to
Accepted column headings and data formats
Here are all the accepted column headers with their expected data formats and values:
Project resource type
Mandatory fields:
project name: The name of your project (text)resource name: Must be identical to the project name (text)resource type: Must be “project” (text)
Purchase resource type
Mandatory fields:
project name: The project name this purchase belongs to (text)resource name: Name of your purchase (text)resource type: Must be “purchase” (text)purchase paid cost: Cost of the purchase (number, can be 0)purchase resale price: Resale price (number, can be 0)purchase paid date: Effective purchase date (YYYY-MM-DD format)
Discount resource type
Mandatory fields:
project name: The project name this discount belongs to (text)resource name: Name of your discount (text)resource type: Must be “discount” (text)discount amount: Discount amount (number)
Task resource type (root level)
Mandatory fields:
project name: The project name this task belongs to (text)resource name: Name of your task (text)resource type: Must be “task” (text)task budget type: Billing method (text - None, Detailed, Global, Time)
Task billing type requirements
Depending on the selected billing type, additional fields are required:
Task Budget Type = None (Non-billable)
- Mandatory fields: None beyond the basic task fields
Task Budget Type = Detailed (Fixed fees)
- Mandatory fields: Choose 2 of these 3 fields:
task time planned: Time sold/planned (number, hours)budget amount: Budget amount (number)task hourly rate: Hourly rate (number)
Task Budget Type = Global (Package fees)
- Mandatory fields:
budget amount: Budget amount (number)task hourly rate mode: Rate definition mode (text)task hourly rate: Hourly rate (number, only if hourly rate mode = “task”)
Task Budget Type = Time (Time and materials)
- Mandatory fields:
task hourly rate mode: Rate definition mode (text)task hourly rate: Hourly rate (number, only if hourly rate mode = “task”)
Task groups and subtasks
When creating task groups ([Task] objects), you can include subtasks ([subtask] objects) within them.
Important: Subtasks must have the same billing type as their parent task group.
Task group requirements by billing type
For both task groups and subtasks, these basic fields are always required:
project name: The project name (text)resource name: Task/subtask name (text)resource type: “task” for groups, “subtask” for subtasks (text)task budget type: Billing method (text)
Additional requirements vary by billing type:
Task group None (Non-billable)
Task object - mandatory fields: None Subtask object - mandatory fields: None
Task group Detailed (Fixed fees)
Task object - mandatory fields: Do not fill Time planned, Budget amount, or Hourly rate fields Subtask object - mandatory fields: Choose 2 of these 3:
task time planned: Time sold/planned (number)budget amount: Budget amount (number)task hourly rate: Hourly rate (number)
Task group Global (Package fees)
Task object - mandatory fields:
budget amount: Budget amount (number)task hourly rate mode: Rate definition mode (text)task hourly rate: Hourly rate (number, only if hourly rate mode = “task”)
Subtask object - mandatory fields:
task hourly rate mode: Rate definition mode (text)task hourly rate: Hourly rate (number, only if hourly rate mode = “task”)
Task group Time (Time and materials)
Task object - mandatory fields:
task hourly rate mode: Rate definition mode (text)task hourly rate: Hourly rate (number, only if hourly rate mode = “task”)
Subtask object - mandatory fields:
task hourly rate mode: Rate definition mode (text)task hourly rate: Hourly rate (number, only if hourly rate mode = “task”)
Import process
- Prepare your file using the template and guidelines above
- Go to Administration > Imports > Projects
- Upload your file in CSV or XLSX format
- Review the preview to ensure everything looks correct
- Click Import to start the import process
Troubleshooting common issues
- Encoding issues: Ensure your file is saved as UTF-8
- Date format: Use YYYY-MM-DD format for all dates
- Decimal separators: Use periods (.) for decimals, not commas
- Column headers: Make sure column names match exactly
- Hierarchy order: Resources must be ordered correctly
If you encounter errors during import, the system will provide specific error messages with line numbers to help you identify and fix issues in your file.